Running a Local Server
Contents
Contents:In this guide we’ll cover how to get a local version of your wiki fork running in your browser, so you can check how changes will appear exactly as they’ll appear on the original wiki site.
This is intended for users who want the most accurate preview and control over the final output.

Prerequisites
- This guide assumes you’ve followed the Using Github Desktop guide, so you have a fork of the wiki locally.
- This guide uses Windows, though you can achieve this under Linux, too.
Info for Linux users
Official Jekyll and Ruby install instructions can be found for Ubuntu here (other distro info here).
If using Linux run the bash (.sh) versions of the install and run scripts mentioned in the steps below.
Since Github Desktop isn’t available for Linux you’ll have to use an alternative git front-end or just the git CLI, to make the initial fork clone and (optionally but recommended) manage commits.
You can alternatively run Linux in a virtual machine on a Windows host and manage files/git on the Windows side, by cloning the wiki to a directory on the host and sharing it with the VM.
Note: the build process uses Powershell for generating the search index files, to populate the search results. Powershell is available in Linux packages. Otherwise not strictly necessary if search not needed for local testing.
Installing Jekyll and Ruby
- Download RubyInstaller from here. Select the With Devkit x64 version that’s bolded.
- Run the installer and click through the defaults. It consumes around 900MB of space.
If you get a Windows SmartScreen message blocking the installer click the underlined More info text then click the Run anyway button.
- At the end of the installer you’ll be prompted by default to install the dev components. Confirm and a CMD window will appear. Press
Enterkey to continue.- After it states
succeededyou’ll be prompted a second time to pressEnter. This just exits the CMD window since it’s already complete.
- After it states
Installing the wiki dependencies
- Now open the local version of your wiki fork (if you’re unclear where that is open Github Desktop then click Show in Explorer).
- Double-click the
install.batscript in the root directory of your fork. This installs the required Jekyll dependencies for the local wiki fork and only has to be done once. It will take a moment before progress appears.Tip: it’s easier to distinguish file types by having file extensions visible in Windows File Explorer.
Running the local server
Now we’re ready to run the server. Any time you’d like to run it just do the following.
- In the root directory of your fork double-click the
run.batscript. This will build the wiki then run a web server locally on Windows that can be accessed via a browser.The server is only accessible on your system, not over the internet.
- The script will prompt for whether you’d like to use incremental or full builds for the current session. Press
1orEnterkey for the incremental build type (faster).The alternative full build option will rebuild the whole wiki any time a change is detected. This is useful if you’ve changed some permalink metadata and need the search results and sidebar sections to sync up with the changes.
- Minimize the CMD window and launch a browser.
- Enter
localhost:4000in the addressbar to visit the local wiki running on your system!
You’ll notice a new
_sitedirectory in the root of the wiki directory appear. This directory only contains the compiled versions of pages/files for the local server and is ignored by Github Desktop when detecting file changes, so avoid editing any of the files within.
Closing the local server
You can stop the local server running at any time by opening the CMD window you minimized and pressing Ctrl+C (the ‘cancel’ command) twice to terminate the process.
Making changes
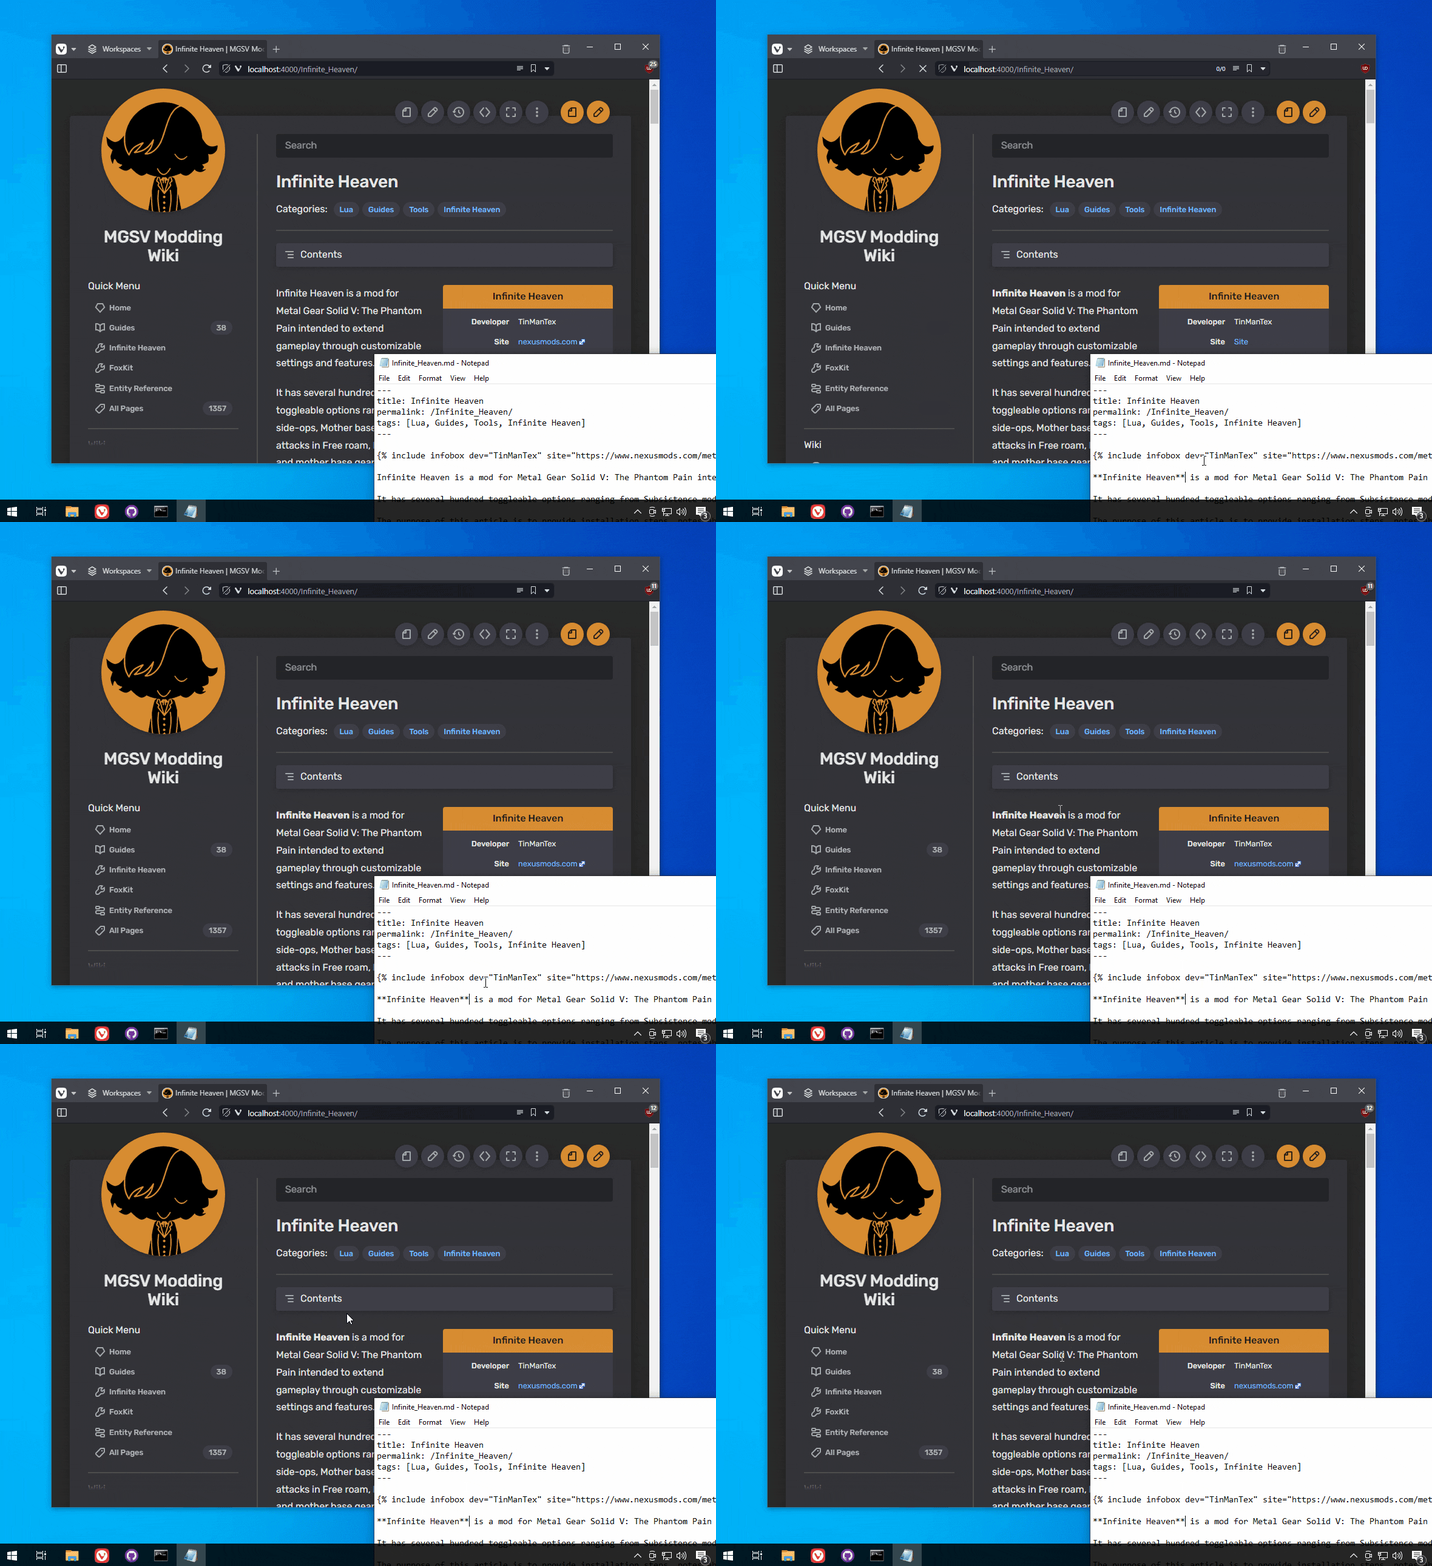
You can make changes to the wiki as you would normally, by editing/adding/deleting files on your local fork via Windows Explorer.
Any changes will be auto detected by Jekyll incrementally and the parts of the wiki that have changed will be re-built. The changes can be viewed in a browser.
You can then submit your changes back to the original wiki as per the Github Desktop guide.

Note: it takes a moment to rebuild for each change so there’ll be a delay between the change(s) and when they’ll appear. The changes should automatically appear in the browser without requiring a refresh, once they’ve been built and are ready.
Tip: you can check what’s happening by viewing the CMD window while the local server is running.
 MGSV Modding Wiki