Retexturing the Bionic Arm (FMDL Studio 2)
Contents
Contents: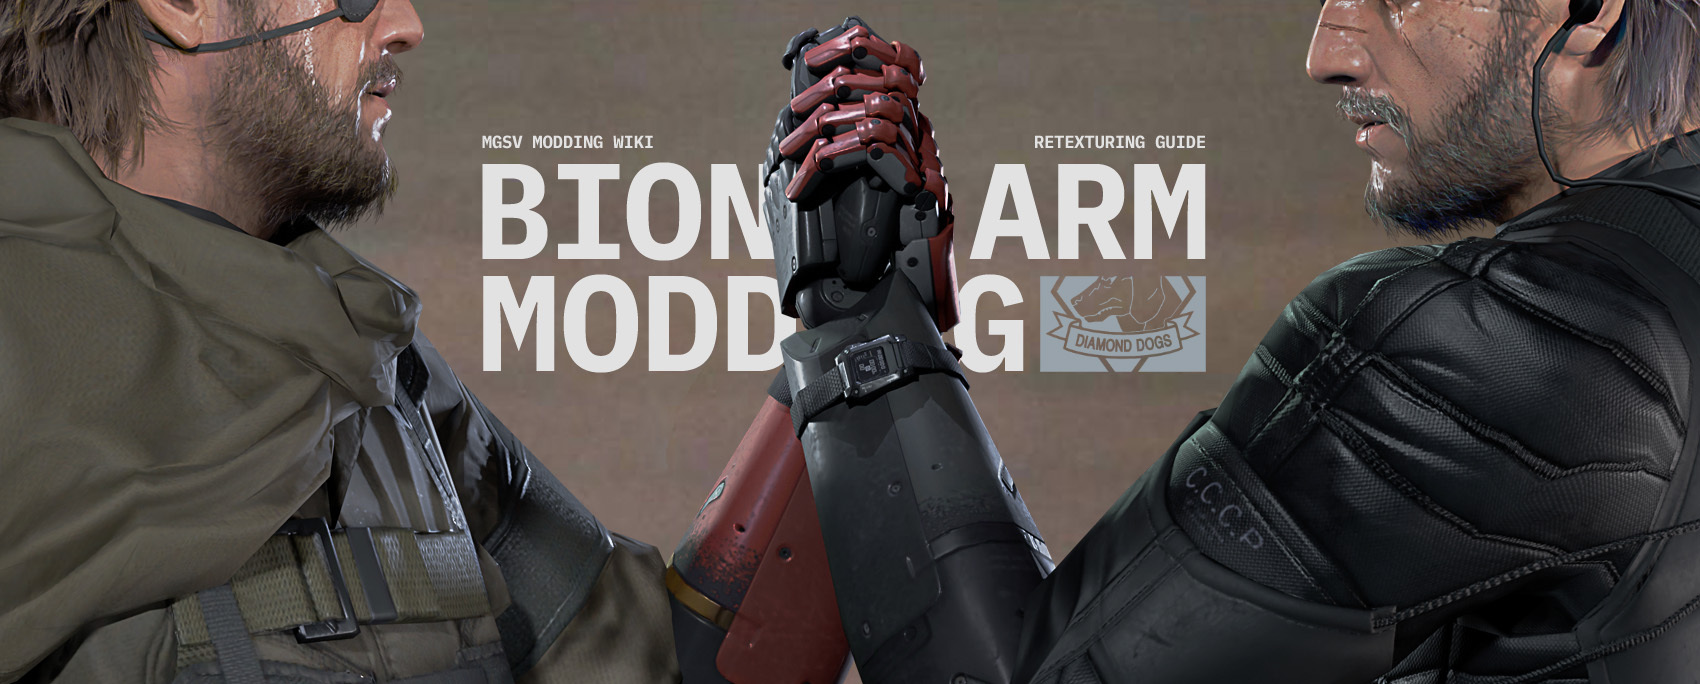
Tip: there are multiple versions of this guide, covering different approaches. See the side bar for others.
In this guide we’ll be retexturing Snake’s bionic arm in Metal Gear Solid V: The Phantom Pain from its original red/black to all dark, to suit various black outfit retextures (such as this).
There are a few different ways to retexture game files in MGSV and this guide covers an approach using the FMDL Studio 2 package for the Unity editor. Similar steps can also be used for modding other textures.
Pros and cons of this approach
Benefits:
- Shares same benefits of the path replacer version of the guide.
- The embedded texture paths are automatically detected within imported models, making it simple to discover what texture paths the model originally uses.
- GUI-based.
- Allows retexturing models for use with MGSV: Ground Zeroes via an optional setting.
Downsides:
- Requires Unity account to set up.
- Each Unity project consumes around 400MB baseline, however a single project can be reused.
Let’s get started!
Things needed
- Unity (version 2018.3.6f1)
- 3D game engine editor. 570MB. The version linked is the one tested and recommended by the tool’s dev (and v6+ is known to have issues with the FMDL Studio 2 package).
- FMDL Studio 2
- Package for Unity that enables FMDL import/export.
- File Monolith
- For unpacking the game files. Note: latest version requires .NET v8 Desktop Runtime installed; while the last version without this dependency is version 0.4.
- FtexTool
- Game texture converter.
- SnakeBite Mod Manager
- For packaging and installing the mod. Note: the download requires a Nexus Mods account.
- An image editor and plugin or tool to import/export DDS textures
- See this page for suggestions.
Tip: for those unfamiliar with downloading programs from Github just download the topmost file in the linked pages, with the package/cube icon.
Initial tools setup
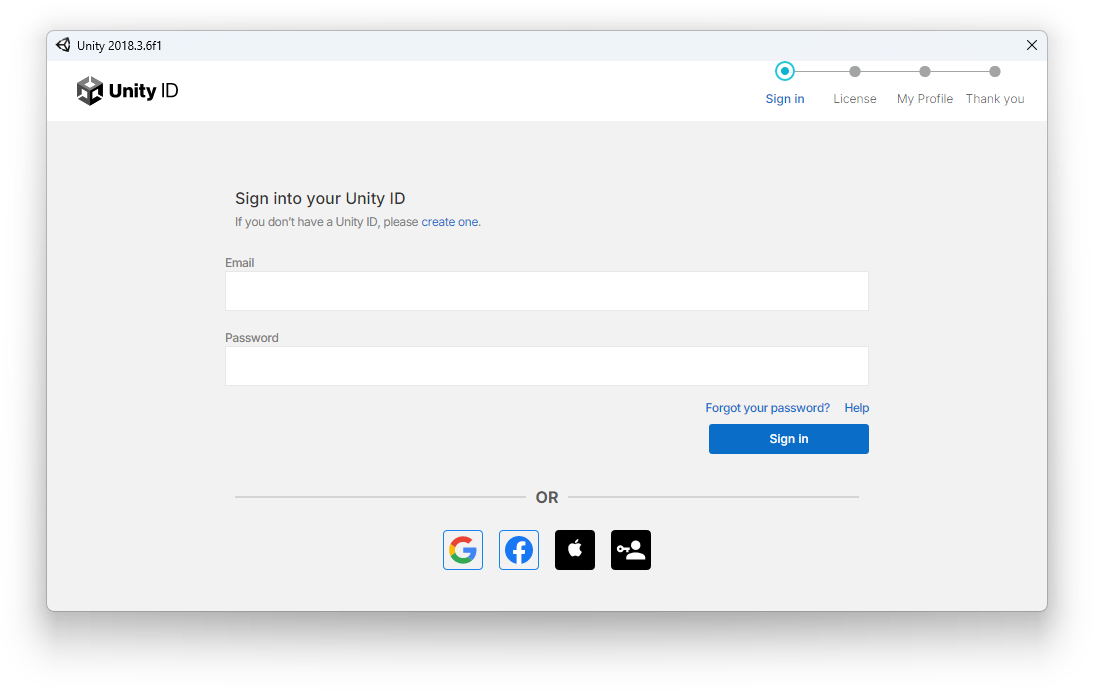
Unity requires a license to use. To obtain a free license for your installation you’ll need to create a Unity account.
Setting up Unity
Show steps
- First install Unity and launch it. You’ll be prompted to login or create a new account.
It’s also possible to use Unity offline by activating a license via an online computer and transferring the license but this won’t be covered here.
- Once complete, upon next launching Unity you’ll see a project manager wizard screen where you can create a new Unity project or open an existing project.
- Click the New button to create a new project and choose where you want it located.
Setting up FMDL Studio 2 package
Show steps
-
Once you have your new Unity project window open click the Assets menu at the top of the window and select Import Package>Custom Package.
-
Navigate to and select the
Fmdl-Studio-v2.unitypackagefile you downloaded. -
Choose to import all the assets to begin installing FMDL Studio 2 to your Unity project.
You can also find these steps on FMDL Studio 2’s wiki.
Other tools
Show steps
-
Unzip/install the other required tools each to their own directory. Most of the the tools are portable so can be placed anywhere on the drive. SnakeBite is the only tool that comes with an installer.
In my case I’ve chosen to place them all inC:\Modding\MGSV\Tools. -
Next up, note where the game is installed and if you haven’t already, set up SnakeBite mod manager.
Viewing file extensions in Windows
It’s also recommended to show all file extensions in Windows, so different filetypes can be distinguished easily.
Unpacking the game files
To get to the necessary files we first have to unpack the game’s data files.
Check out the steps here then return back.
Finding the model and texture files
With the files unpacked we can now identify which we’ll need for modding the bionic arm.
Check out the steps here then return back.
Setting up the mod directories
There are only two directory paths needed for the mod so we’ll set them up now.
Check out the steps here then return back.
Editing the texture file
Obviously the key part of any retexture mod.
Check out the steps here then return back.
Tip: it’s useful keeping the base name of the texture files generic. You could leave it as
sna0_arm0_def_bsmor rename it to something likeRetexture(eg:Retexture.ftex,Retexture.1.ftexs, etc).
This way if you want to change the color of the arm to something else in the future the entire texture path can remain the same, which avoids having to re-edit the model file with a different texture path.
Editing the model file
Note: you’ll notice in the steps and video below the arm has the original red/black base texture already applied. This was done by following these steps.
However it’s not relevant for this guide and was only done to more visually show the red to dark texture replacement in Unity and makes no difference for the final output. When you import the FMDL you’ll instead see a checkerboard pattern on both the model and Base_Tex_SRGB square texture tile until you replace the texture as shown.
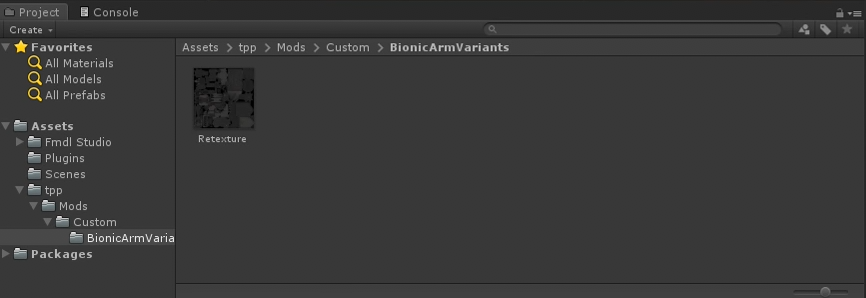
Copying the texture structure to the Unity project
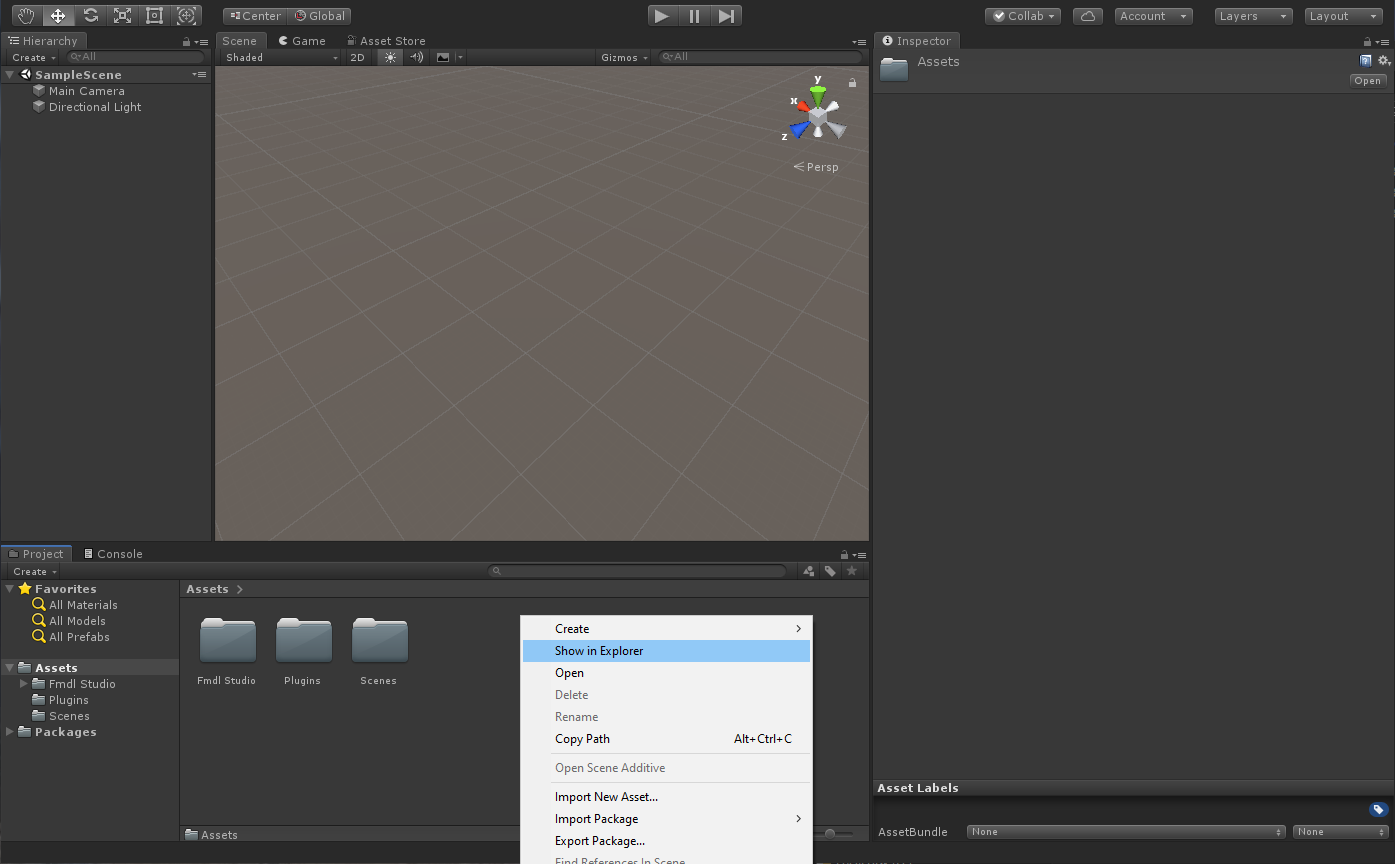
- Have your Unity project open that has FMDL Studio 2 installed to it, then in the bottom Project panel with the Assets directory selected in the left sidebar right-click an empty area there and select Show in Explorer. This will open the project directory to the Assets sub-directory.
- Within File Explorer copy the
tpp\Mods\Mods\Custom\BionicArmVariantsdirectory you created earlier (that contains the retextured.ddsfile) to this Unity Assets directory.

- You should now see the new
tppdirectory appear in the Assets side bar within Unity’s Project panel.
Importing, editing and exporting the FMDL
Now we can import the FMDL arm model, replace its texture and export to a new FMDL model file. A video below the steps following import in case it’s easier to follow.
Show steps
- Click the FMDL Studio menu at the top and select Import FMDL.
- Then navigate to the FMDL model from your
Moddeddir and open it.
- Then navigate to the FMDL model from your
- Click somewhere on the arm and in the right side Inspector panel scroll down to the material which here is named
phandand click the little triangle to expand it.

-
Now scroll down and beside the Base_Tex_SRGB area click the square texture tile that has the text Select.
For you it will appear as a square checkerboard pattern not the red texture shown here but it’s irrelevant.

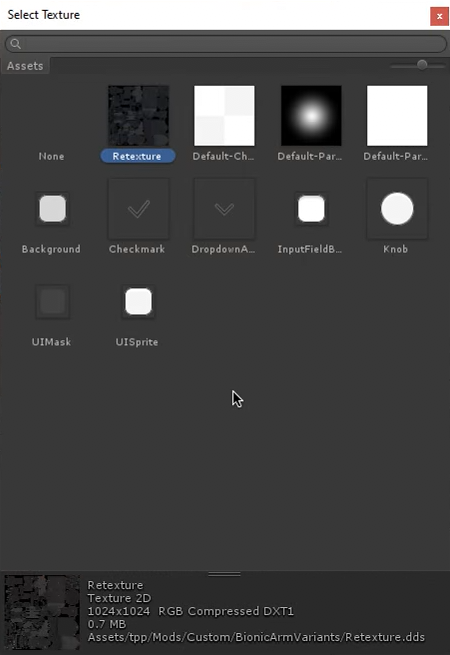
- A Select Texture pop-up window will appear and show various default Unity images. Click the DDS texture that you retextured earlier.
- When clicking the texture it will display its path at the bottom of the Select Texture window. The path should begin with
Assets/tpp/.If you don’t see this texture then you haven’t copied the DDS file to your Unity project directory as described earlier in this section.
- When clicking the texture it will display its path at the bottom of the Select Texture window. The path should begin with
- Once you selected the DDS from that pop-up window the arm’s material will change to it.
- You might notice that the texture looks weirdly mapped to the arm model. This is because Unity flips the replacement texture vertically for whatever reason. It makes no different to the final FMDL however.
If you do want to view the texture correctly mapped to the model in Unity you can change the Base_Tex_SRGB’s Tiling Y value in the material area from
-1to1. This only affects how it’s displayed inside Unity.
- You might notice that the texture looks weirdly mapped to the arm model. This is because Unity flips the replacement texture vertically for whatever reason. It makes no different to the final FMDL however.
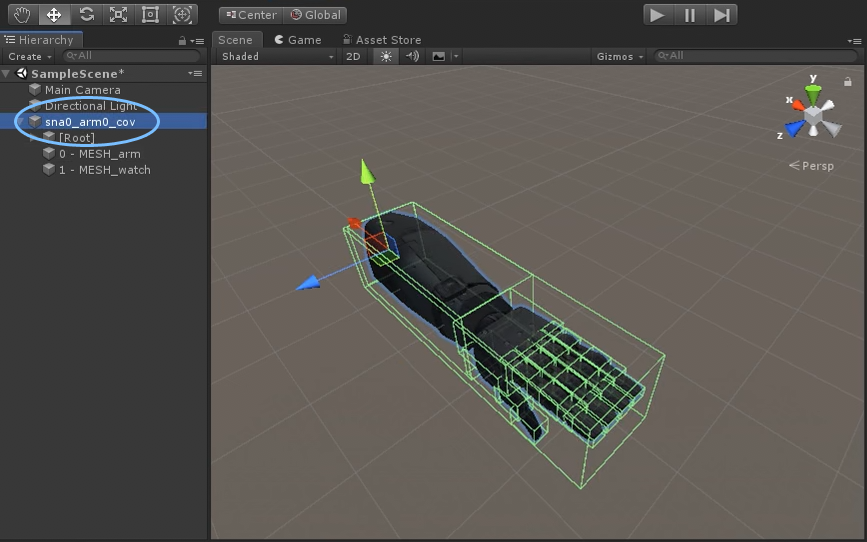
- We’re now ready to export the arm model we’ve just modified.
- First select the
sna0_arm_0_covitem from the left side Hierarchy panel. This will highlight all the model’s bounding boxes in green. - Then from the FMDL Studio menu at the top select Export FMDL and overwrite the FMDL you imported from the
Moddeddirectory.
- First select the
Video:
Note: also in the video you’ll see the Tiling Y value changed to
1instead of the default-1. This is to flip the retextured DDS in Unity to the correct orientation. It’s entirely optional as it doesn’t affect the FMDL export, it’s only to display the replacement texture correctly within Unity itself (since it may be confusing when seeing the texture map applied upside down).
Packaging and installing the mod
The mod is almost complete. We just need to package it into a SnakeBite archive so it can be easily installed and shared.
Check out the steps here then return back.
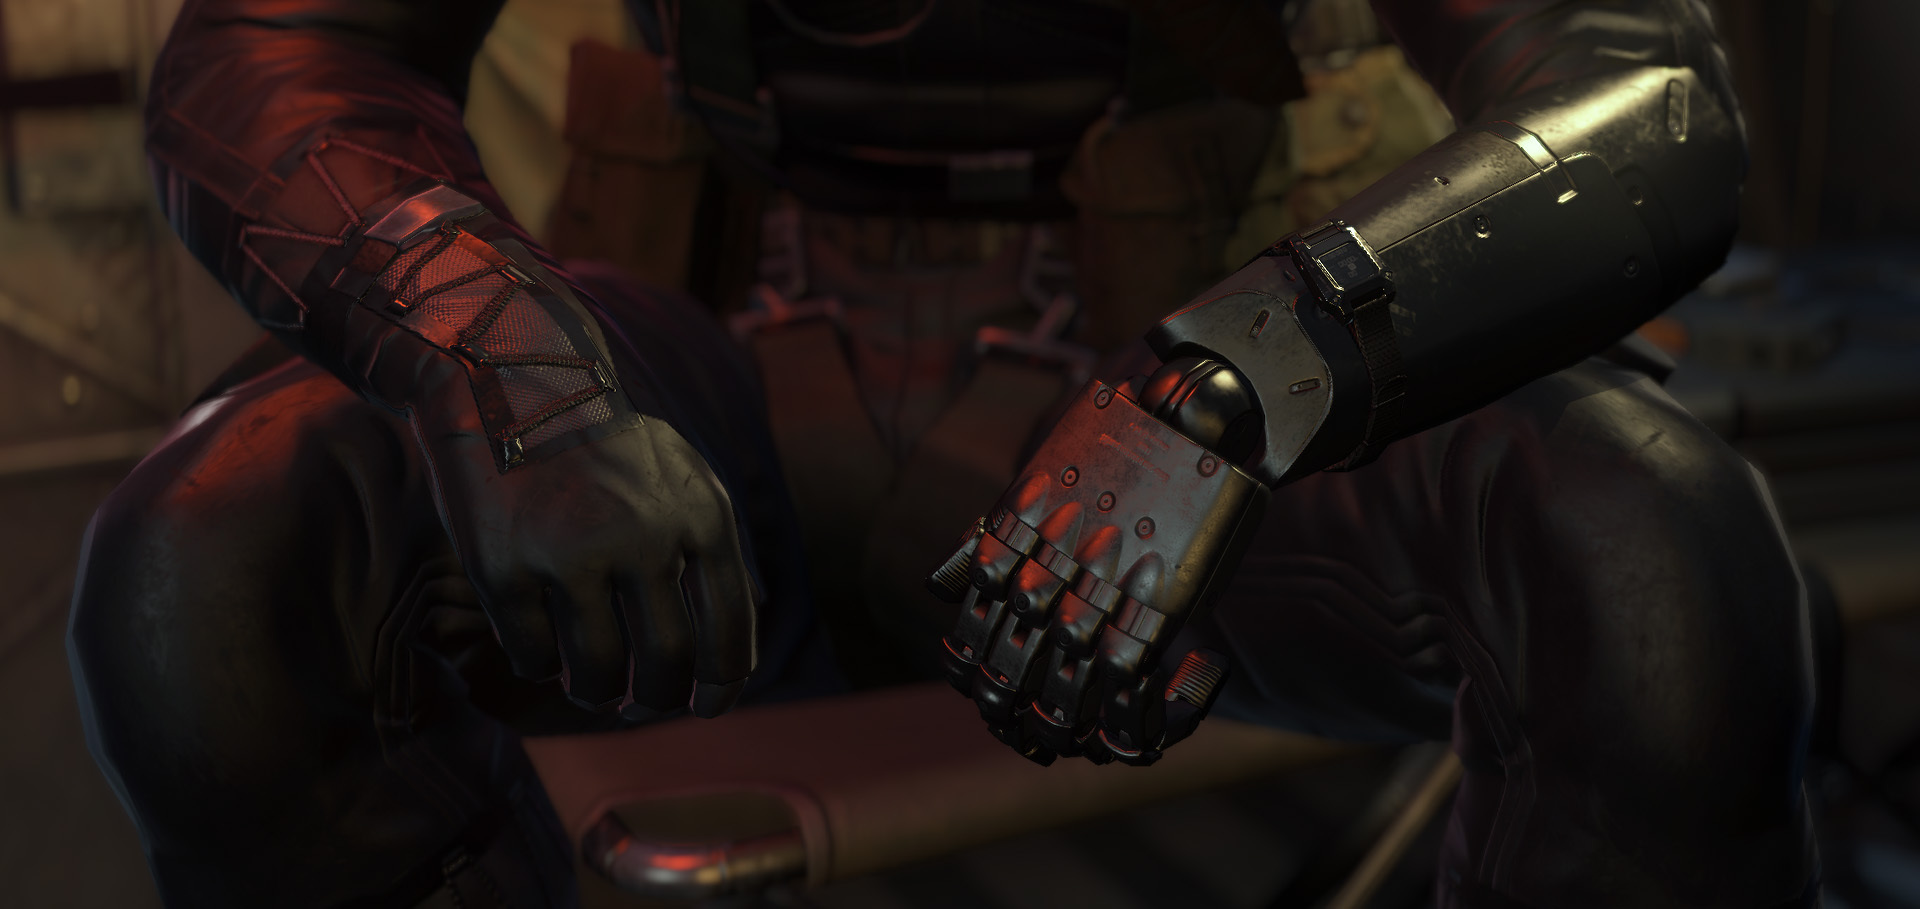
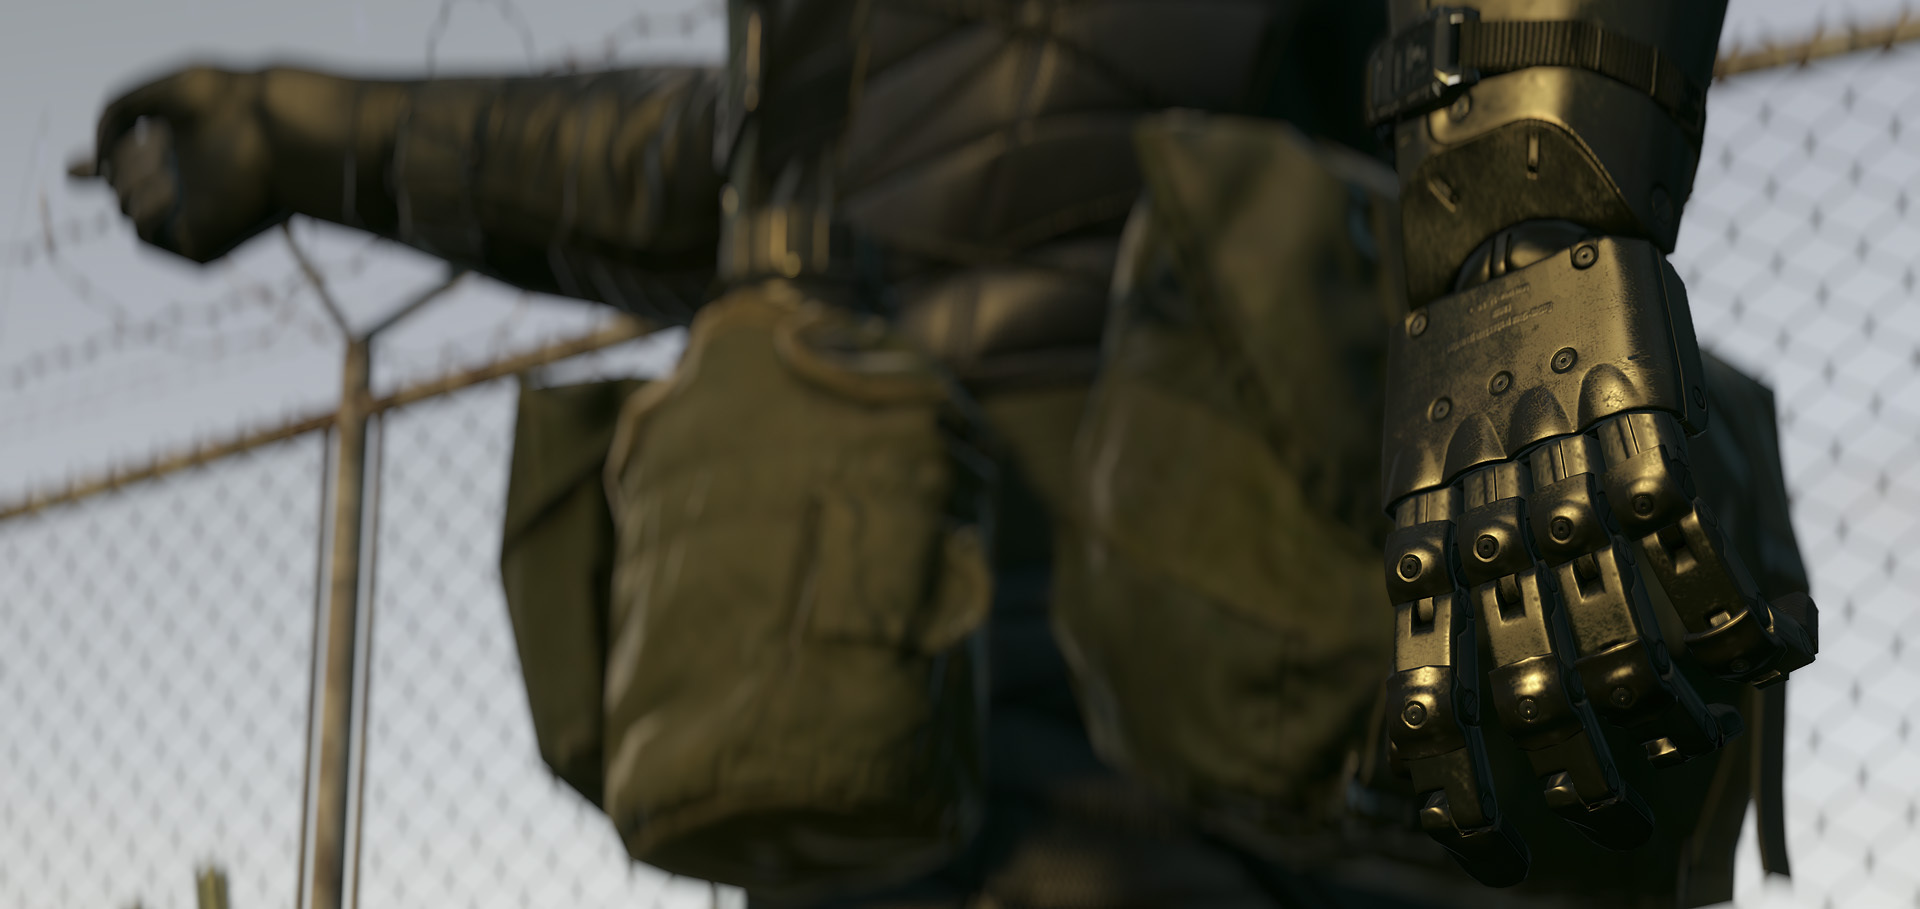
In-game screenshots
Creating new texture variations
If you ever decide you want to add some separate color variation all you have to do is re-edit the texture file from Assets\tpp\Mods\Custom\BionicArmVariants and go through the MakeBite steps again to regenerate another SnakeBite package file.
That’s because the custom texture path we chose is generic enough that it’s not referring to a specific color, so there’s no need to re-tweak the arm model file, only the texture file(s).
Download this mod
Below is the SnakeBite packaged mod using the steps from this version of the guide. For reference.