Retexturing the Bionic Arm (Path Replacer Script)
Contents
Contents:
Tip: there are multiple versions of this guide, covering different approaches. See the side bar for others.
In this guide we’ll be retexturing Snake’s bionic arm in Metal Gear Solid V: The Phantom Pain from its original red/black to all dark, to suit various black outfit retextures (such as this).
There are a few different ways to retexture game files in MGSV and this guide covers an approach that tweaks the arm model to point to a custom texture, using a script. Similar steps can also be used for modding other textures.
Pros and cons of this approach
Benefits (compared to PFTXS only approach):
- Avoids conflicts with any other referenced original texture path that may appear in an unmodded PFTXS.
- Mitigates potential mod conflicts by only packaging the specific parts changed.
- Reduced redundancy if multiple models reference the same texture files.
Downsides:
More about this guide
This guide is a shorter adapted version of the companion guide to the script we’re using here, which covers how to retexture MGSV’s supply box and separates each step into separate illustrated pages. We’ll be using a couple different programs but achieving the same thing.
Let’s get started!
Things needed
- QuickHash
- Hashing utility. Dependency of script.
- XVI32
- Hex editor with automation support. Dependency of script.
- File Monolith
- For unpacking the game files. Note: latest version requires .NET v8 Desktop Runtime installed; while the last version without this dependency is version 0.4.
- FtexTool
- Game texture converter.
- SnakeBite Mod Manager
- For packaging and installing the mod. Note: the download requires a Nexus Mods account.
- An image editor and plugin or tool to import/export DDS textures
- See this page for suggestions.
Tip: for those unfamiliar with downloading programs from Github just download the topmost file in the linked pages, with the package/cube icon.
Initial tools setup
Show steps
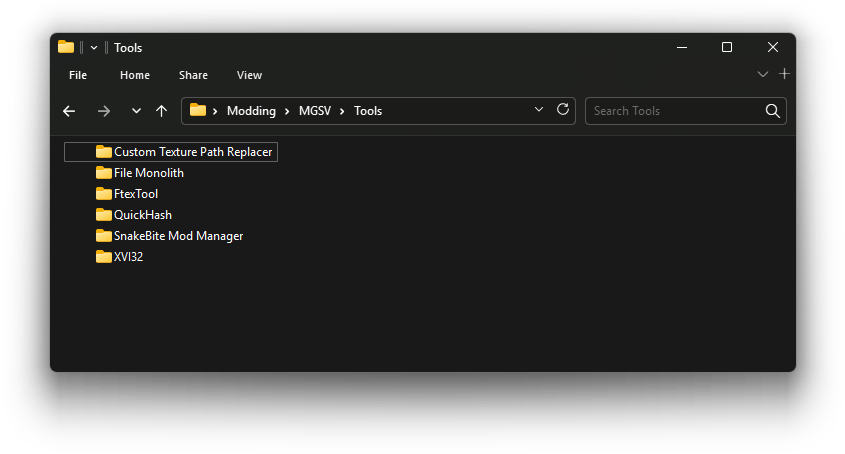
- Unzip/install the required tools each to their own directory. Most of the the tools are portable so can be placed anywhere on the drive. SnakeBite is the only tool that comes with an installer.
In my case I’ve chosen to place them all inC:\Modding\MGSV\Tools.
- Now with the script, since we’re using QuickHash for this guide (instead of the default GzsTool), open the script in a text editor, like Notepad.
- Then edit the
set usequickhash=noline near the top settings area to beset usequickhash=yesinstead and save the file.
- Then edit the
- Then double-click the script file to launch it and drag
QuickHash.exeinto the window when prompted and press Enter, then do the same when prompted forXVI32.exe.
- Next up, note where the game is installed and if you haven’t already, set up SnakeBite mod manager.
Viewing file extensions in Windows
It’s also recommended to show all file extensions in Windows, so different filetypes can be distinguished easily.
Unpacking the game files
To get to the necessary files we first have to unpack the game’s data files.
Check out the steps here then return back.
Finding the model and texture files
With the files unpacked we can now identify which we’ll need for modding the bionic arm.
Check out the steps here then return back.
Setting up the mod directories
There are only two directory paths needed for the mod so we’ll set them up now.
Check out the steps here then return back.
Tip: unlike FMDL Studio 2 the script we’re using for this guide actually supports a custom texture path (the first path in the above link) directly within
Assetswithout the need to be inside atppsub-directory (eg:Assets\Modswould be valid).
However to make the steps consistent for both the Path Replacer Script and FMDL Studio 2 guides the custom texture path in the linked steps has been set to withinAssets\tppfor both.
Editing the texture file
Obviously the key part of any retexture mod.
Check out the steps here then return back.
Tip: it’s useful keeping the base name of the texture files generic. You could leave it as
sna0_arm0_def_bsmor rename it to something likeRetexture(eg:Retexture.ftex,Retexture.1.ftexs, etc).
This way if you want to change the color of the arm to something else in the future the entire texture path can remain the same, which avoids having to re-edit the model file with a different texture path.
Editing the model file
Now we’re ready to tweak the model file to point to our modded texture file path.
Double-click the path replacer script you configured earlier. The script will prompt for three things: the target file path (our FMDL), the original FTEX texture path and our modded FTEX path.
- For the Target File prompt drag and drop the
sna0_arm0_cov.fmdlfile from theModdeddirectory onto the script window, then press Enter. -
For the Original FTEX Path prompt we’ll be pasting the following path instead of dragging anything. So copy the path below then paste it in by right-clicking within the script window once and pressing Enter:
/Assets/tpp/chara/sna/Pictures/sna0_arm0_def_bsm.ftexJust make sure you copy the full path, including the first forwardslash (
/) character in the line above, for the path to be valid. - For the Custom FTEX Path drag and drop the modded FTEX texture file from the
Moddeddirectory and press Enter.
If all are correct the XVI32 hex editor window should open briefly, edit the model file, then close and the script should report ‘Modification successful’.
Video:
If this doesn’t occur check out the script’s troubleshooting page for common mistakes, or ask for help on Discord (link in wiki side menu).
Packaging and installing the mod
The mod is almost complete. We just need to package it into a SnakeBite archive so it can be easily installed and shared.
Check out the steps here then return back.
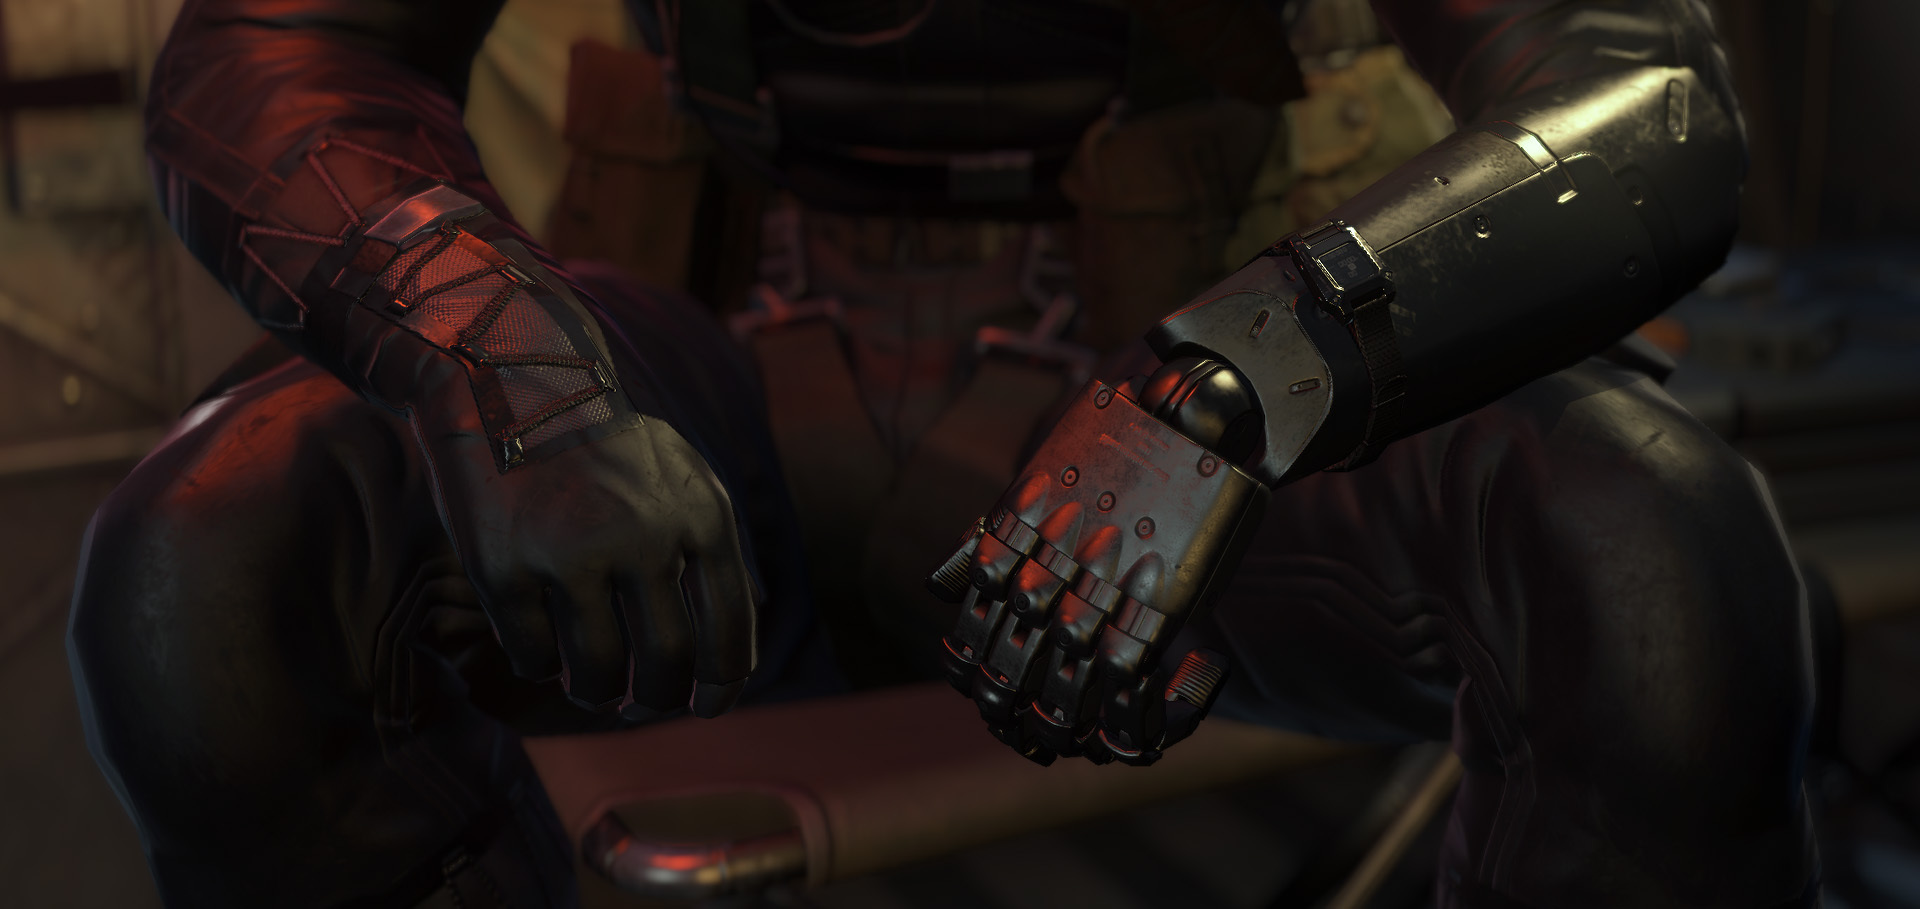
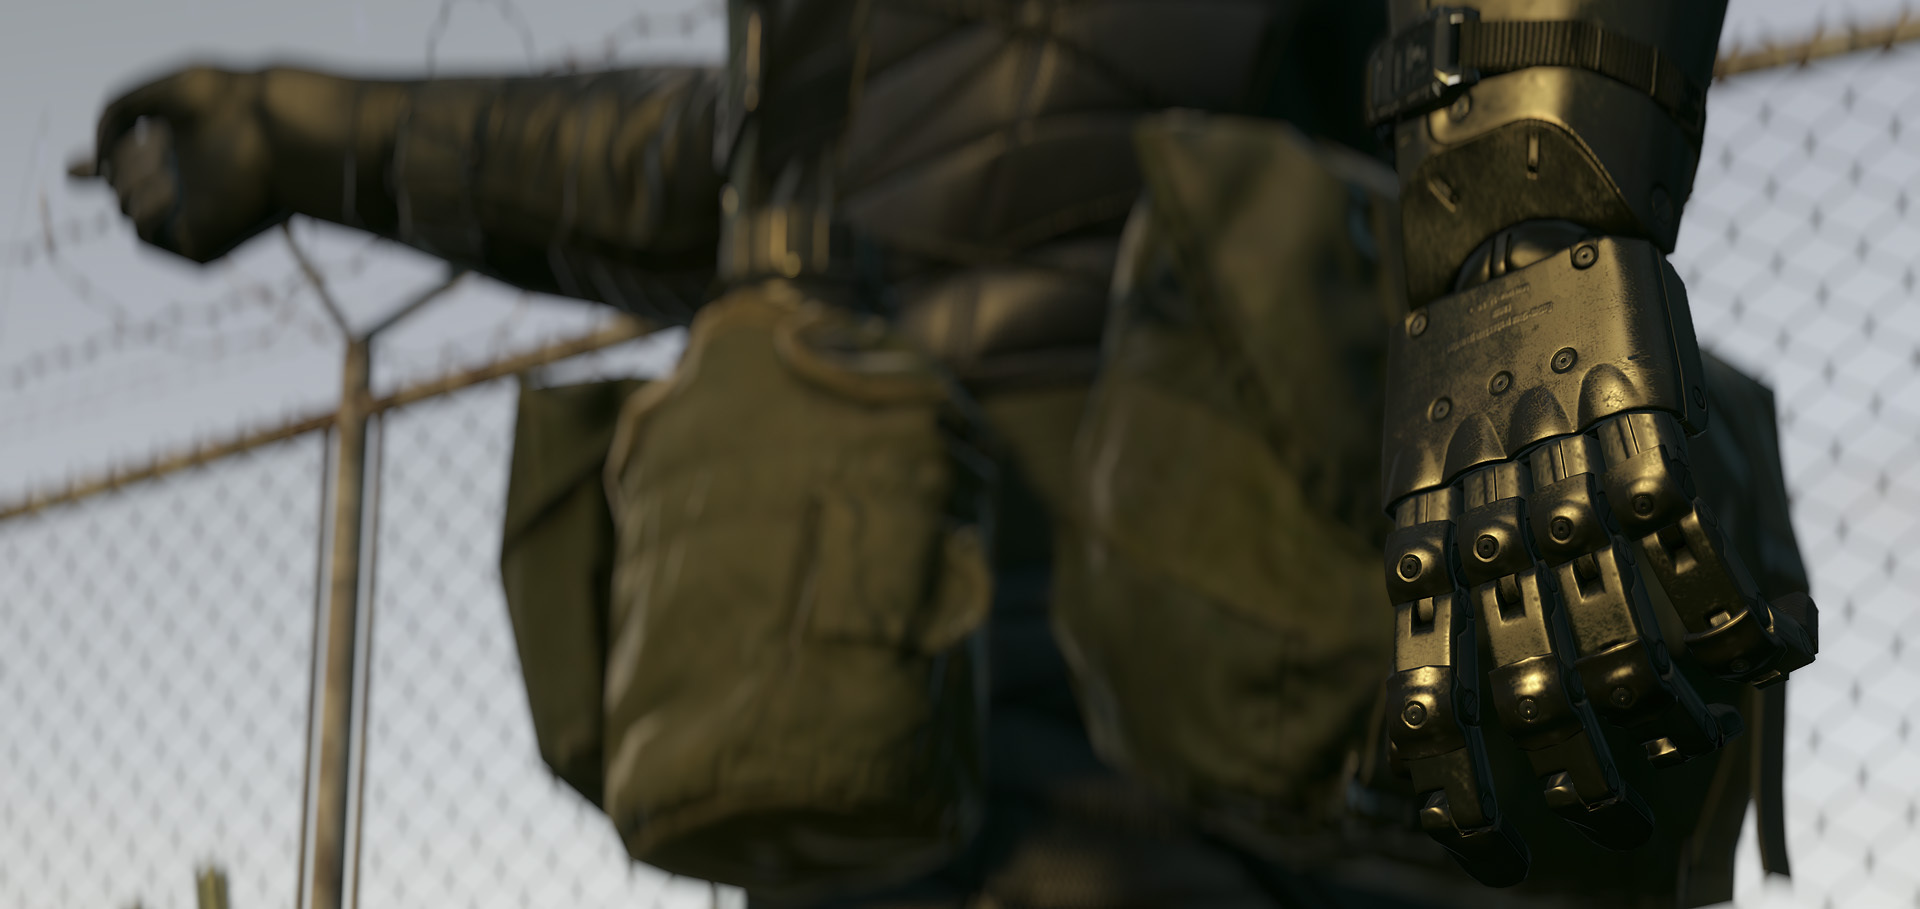
In-game screenshots
Creating new texture variations
If you ever decide you want to add some separate color variation all you have to do is re-edit the texture file from Assets\tpp\Mods\Custom\BionicArmVariants and go through the MakeBite steps again to regenerate another SnakeBite package file.
That’s because the custom texture path we chose is generic enough that it’s not referring to a specific color, so there’s no need to re-tweak the arm model file, only the texture file(s).
Download this mod
Below is the SnakeBite packaged mod using the steps from this version of the guide. For reference.